

Showing posts sorted by relevance for query pom pom. Sort by date Show all posts
Showing posts sorted by relevance for query pom pom. Sort by date Show all posts
Monday, March 16, 2020
Pom Pom Caterpillar Craft
Spring is coming and this is the perfect craft to do with your little ones! A Pom Pom Caterpillar...


Monday, September 14, 2015
Pom Pom Races
If you're looking for a fun, quick activity, have your kids race pom poms!
 All you need is straws, pom poms, and masking tape. Put a strip of tape on a hard floor to split up the players. Then have them blow their pom poms with the straws from one end of the racing lane to the other! See who can blow their pom pom across the finish line first, or have them time themselves and try to beat their personal times. My boys loved this, and they thought it was especially funny when I got down on the floor with them to race.
 Thank you PBS Parents for the fun idea! I’ll be linking up to Making Your Home Sing Sunday, Mama Moments Monday, Mom’s Library, Clever Chicks Blog Hop, The Mommy Club,


Tuesday, October 17, 2017
Couple/Maternity Costume: Peanuts
Last year, my husband and I featured my pregnant belly in our costumes for Halloween...we dressed as part of the Peanuts gang:
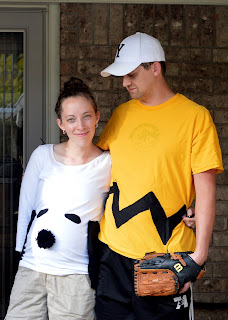 For my husband, I turned a yellow shirt he had inside out and basted on some black fabric to make the zig-zag of Charlie Brown's shirt. He wore black short, long socks, a ball-cap and a baseball glove to complete his ensemble. A simple Charlie Brown costume.
For myself, I found a white maternity shirt, and quickly sewed on some eyes, ears, and a black pom-pom that I made out of yarn for Snoopy's nose. Our costumes were done within an hour and hardly cost us anything! A simple maternity costume. After Halloween, I took all the pieces off our shirts and we got to keep wearing them :).
Now to figure out what we're wearing this year...
Here's where I found my Snoopy inspiration. Here's how to make a pom-pom. I'll be linking up to Tip Me Tuesday at Tip Junkie.

For myself, I found a white maternity shirt, and quickly sewed on some eyes, ears, and a black pom-pom that I made out of yarn for Snoopy's nose. Our costumes were done within an hour and hardly cost us anything! A simple maternity costume. After Halloween, I took all the pieces off our shirts and we got to keep wearing them :).
Now to figure out what we're wearing this year...
Here's where I found my Snoopy inspiration. Here's how to make a pom-pom. I'll be linking up to Tip Me Tuesday at Tip Junkie.
Monday, December 7, 2015
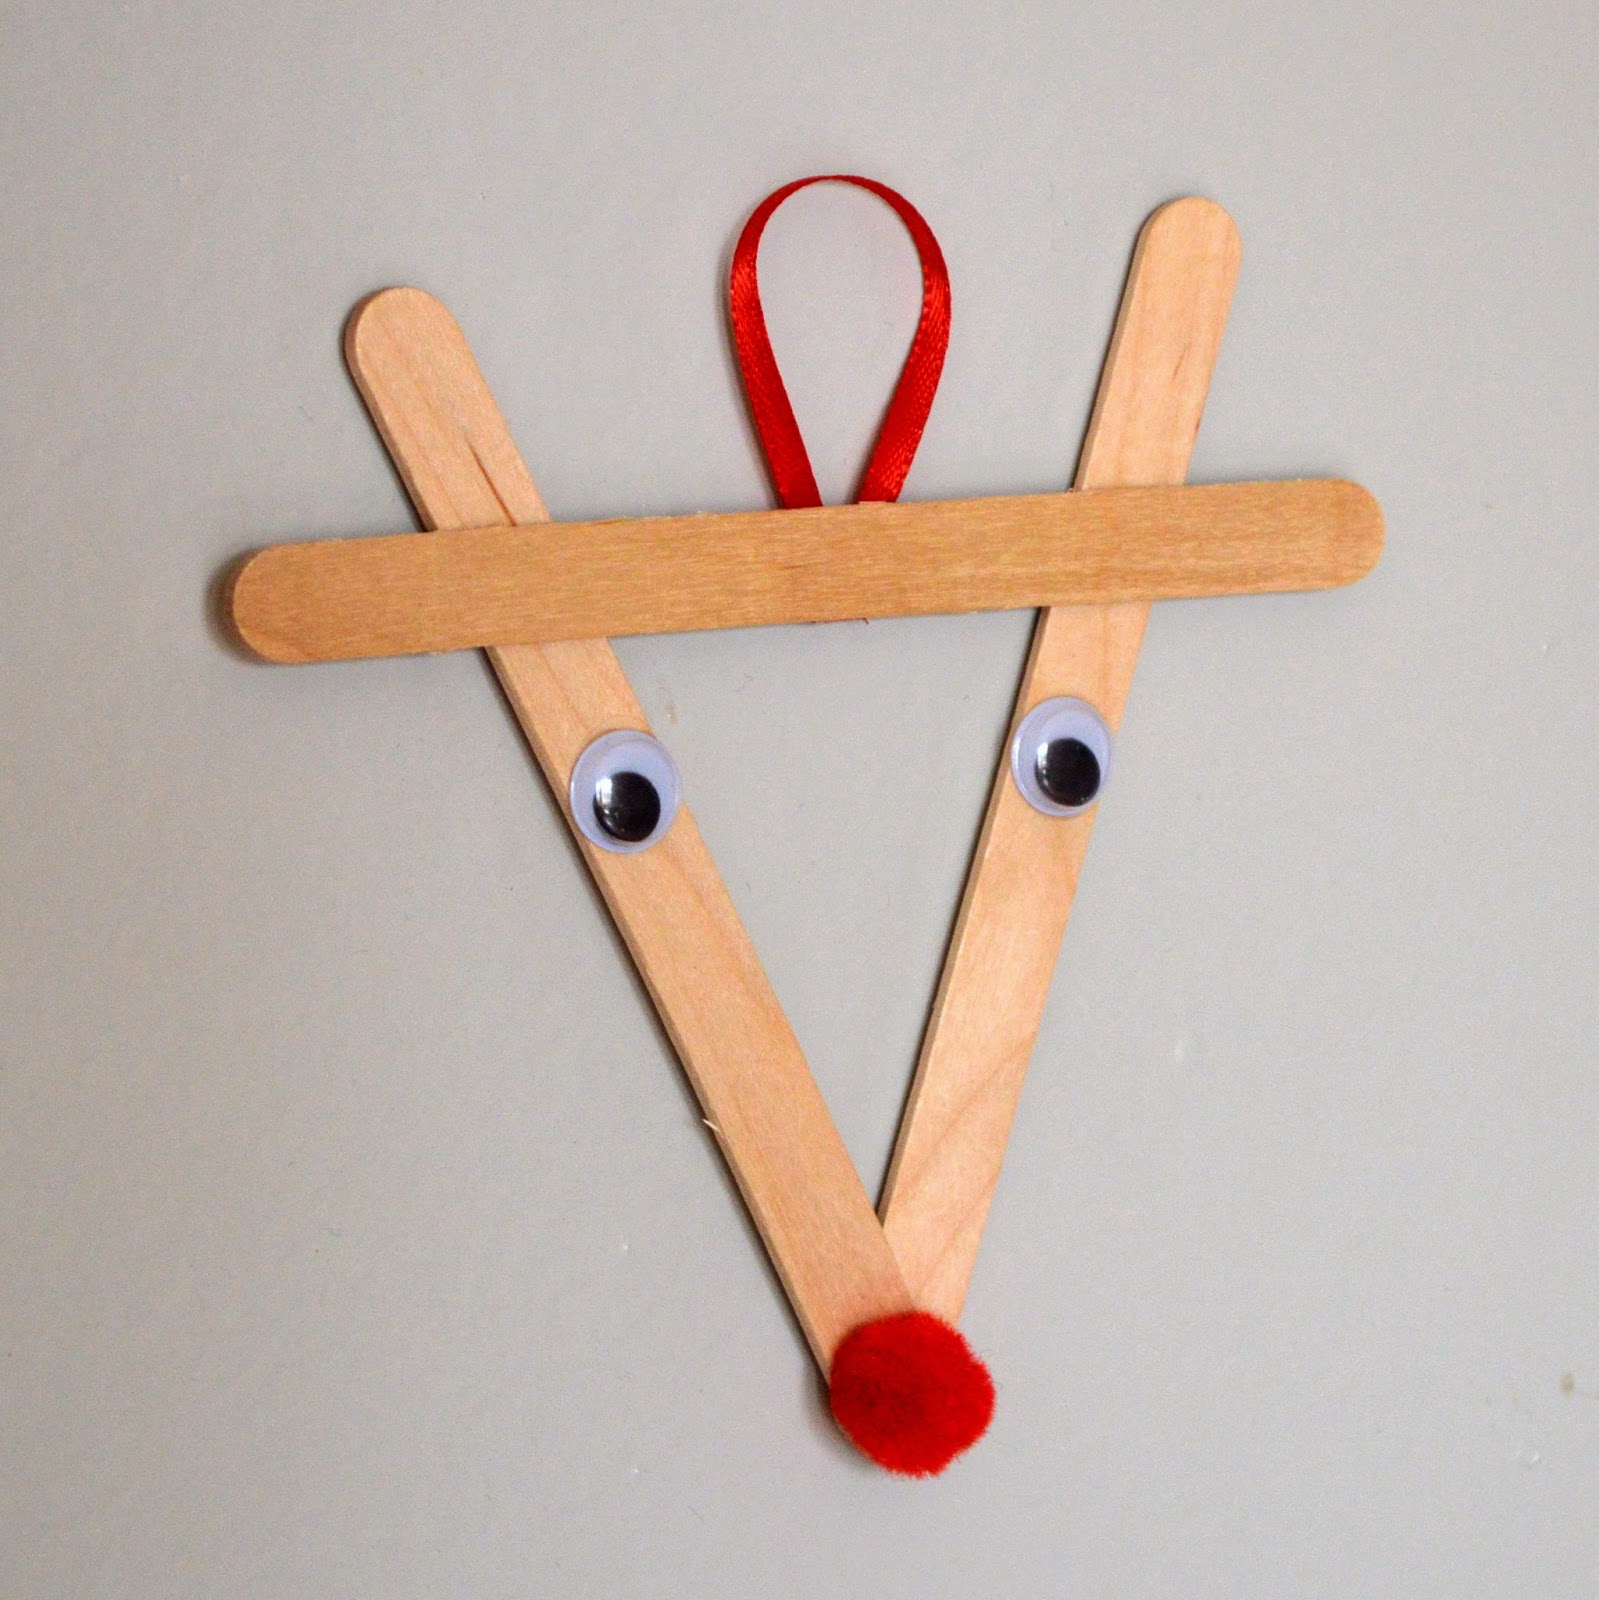
Popsicle Stick Reindeer Ornaments
I don't know how I spent most of my life without making one of these Popsicle Stick Reindeer Ornaments before, but somehow I missed out as a child since everyone else seems to have made them. Now, I get to live vicariously through my children's crafts!
Friday, December 6, 2013
Clothespin Ornaments
Last week I had a bunch of girls from our church over to make ornaments for the tree at church and these are what I came up with…clothespin ornaments:


I’ll be linking up to: Works For Me Wednesday, Mom’s Library, Let's Hear it For the Boy! Clever Chicks Blog Hop,Share it Saturday, Fine Craft Guild,Share Wednesdays, TGIF. Kids Get Crafty, The Mommy Club
Friday, December 12, 2014
Popsicle Stick Christmas Tree Ornament
We go through a lot of popsicle sticks around here. Recently, my 5 year old and I made Christmas trees out of popsicle sticks, and it was interesting seeing his unique twists on the classic. Mine is on the left, his is on the right (his reminds me of trees we made 2 years ago):


Wednesday, January 27, 2016
Caterpillar Crafts
I know it's still frigid in many parts of the country, and bugs are scarce, but here's fun craft for your little ones to do while they're stuck indoors: Popsicle stick caterpillars or clothespin caterpillars.
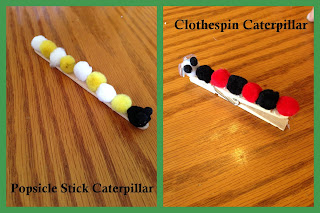 This was a simple craft for my boys, but they loved making their own patterns. All you need is either Popsicle sticks or clothespins, pom poms, googly eyes and glue. We used hot glue, but school glue could work too. You can glue googly eyes to the front, or glue little pom poms on the head.
Have fun! Thanks We Made That for the fun idea.

Have fun! Thanks We Made That for the fun idea.
Tuesday, December 18, 2012
Popsicle stick Christmas tree
I love popsicle stick crafts…they are easy, the kids love them, and they are very affordable! Last week we made these cute little popsicle stick trees:


My 3 year old loves the color pink (in case you couldn’t tell by the tree) and my 5 year old is becoming more and more detail oriented in crafts…it’s so much fun seeing both of their personalities as they grow up :)
To make the tree, take 7 popsicle sticks and cut each one slightly shorter than the other…I just cut them with pruning shears and estimated how long I wanted each stick. I also cut off the rounded ends so the sticks would all have flat ends.
Have your kids paint the branches, and another stick which will be the “trunk”.
Hot glue the branch sticks on to the trunk and let cool. You can also glue on other “ornaments” such as beads, pom poms, sequins…my 5 year old found a random star bead so we glued that on top of his tree.
Glue a ribbon on the back and you have a cute ornament!
I’m linking up to Works for me Wednesday, Kids Get Crafty, Mom’s Library, Mommy Solutions, What are Little Boys Made of? Creative Share Blog Hop,
Wednesday, January 28, 2015
Popsicle Stick Catapult
My boys are to the age that they are very into weapons, heroes, soldiers, etc. So when we made this Popsicle stick catapult they were beyond excited. It was so fun to watch my 5 year old's face as he launched marshmallows across the room!

I loved that this craft was quick, the boys were able to do a lot of it on their own (ages 5 & 7), and it was made of things around our house. You will need: Popsicle sticks, a milk jug or water bottle cap, rubber bands, hot glue gun, something to launch (pom poms, marshmallows, dry cereal, etc).
I loved that this craft was quick, the boys were able to do a lot of it on their own (ages 5 & 7), and it was made of things around our house. You will need: Popsicle sticks, a milk jug or water bottle cap, rubber bands, hot glue gun, something to launch (pom poms, marshmallows, dry cereal, etc).
Monday, April 15, 2019
Hand Print Fish Craft
If you want a simple craft that's perfect for a variety of ages, have your kids make their own fish using their hand prints! My 4 year old made several, and when my 9 year old saw what we were working on, he had to make his own...I had to make a couple of my own fish too, of course :).

You can keep this craft simple with markers, scissors and construction paper...or you can dig through your stash of craft supplies and pull out stickers, googly eyes, puff paint, pom poms, etc.

You can keep this craft simple with markers, scissors and construction paper...or you can dig through your stash of craft supplies and pull out stickers, googly eyes, puff paint, pom poms, etc.
Monday, December 9, 2019
Pine Cone Christmas Tree Decor
Using items found in nature to beautify my home is so much fun! I wanted to make a fun centerpiece for my table during the Christmas season, and was able to find almost everything I need in my backyard for this Pine cone Christmas Tree Craft:


Thursday, August 23, 2018
Popsicle Stick Craft: BB-8
I never know what to expect when my 4 year old says she wants to do a craft...some days she wants to color a picture, and other days she wants to make a BB-8 from Star Wars out of Popsicle sticks!
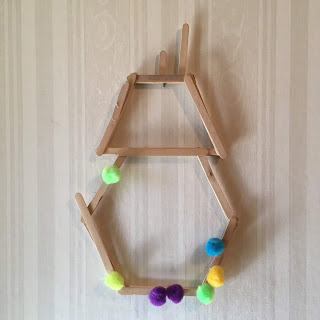 I thought it turned out well. We started by making the bottom of BB-8. It's just a simple hexagon, with two layers. We alternated which stick was on top. Then we made the head out of two layers of Popsicle sticks, and glued the antennae in between those layers.
Pom poms were added for some extra flare and BB-8 proudly hangs on my daughter's wall.
I'll be linking up to Tip Me Tuesday at Tip Junkie. What fun crafts have you made lately?

Pom poms were added for some extra flare and BB-8 proudly hangs on my daughter's wall.
I'll be linking up to Tip Me Tuesday at Tip Junkie. What fun crafts have you made lately?
Tuesday, March 19, 2019
Hand Print Butterfly Craft
When I found out I was having a girl (5 years ago!), I decided to decorate her room in a butterfly theme. Needless to say, it stuck and we have loved butterflies ever since! This butterfly hand print craft was so simple, but she loved making it!
 Start your butterfly by tracing your child's hands on construction paper.

Tuesday, December 1, 2015
Popsicle Stick Snowflakes
We go through a lot of Popsicle sticks in our house. They are so affordable and versatile! Plus, they are easy for little hands to work with. These snowflakes were a breeze for my boys to make and they needed very little help from me.


Monday, January 5, 2015
Silly Snowman Game
If the cold weather is driving you nuts and keeping everyone indoors, celebrate the snow with a silly snowman game. Inspired by Chicken Babies “Roll a Monster Snowman” and similar to our silly pumpkin game, it’s easy, free and fun!
Cut out a bunch of snowman parts from construction paper: lots of body parts (I traced two different size jars), hats, carrot noses, stick arms, eyes, and coal. I used pom-poms for our coal and googly eyes, but we had those on hand.

Cut out a bunch of snowman parts from construction paper: lots of body parts (I traced two different size jars), hats, carrot noses, stick arms, eyes, and coal. I used pom-poms for our coal and googly eyes, but we had those on hand.
Friday, November 21, 2014
Popsicle Stick Picture Frame
My boys are in school all day, and I would think they would be exhausted by the time they got home, but most days, they walk in the door and beg to do a craft. One day, we put together these fun popsicle stick picture frames:

Monday, January 9, 2017
Paper Plate Snowman
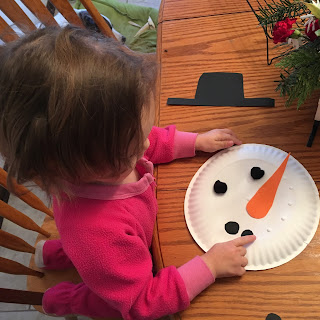
We finally got some snow recently and my 2 year old had so much fun sledding! Sadly, it was not snowman snow, so she has yet to experience making a snowman, but we got creative and made a paper plate snowman inside.

All you need to make your snowman is a paper plate, black construction paper, pom poms, orange foam or construction paper, and white school glue.
I cut out all the shapes we needed and put some glue on the plate...
Then she placed all of the pieces on the glue dots. You could definitely be more adventurous and let your toddler pour the glue themselves or place the pieces wherever they want, but this was fun for both of us so I'll call it a win.

All you need to make your snowman is a paper plate, black construction paper, pom poms, orange foam or construction paper, and white school glue.
I cut out all the shapes we needed and put some glue on the plate...
Then she placed all of the pieces on the glue dots. You could definitely be more adventurous and let your toddler pour the glue themselves or place the pieces wherever they want, but this was fun for both of us so I'll call it a win.

Subscribe to:
Posts (Atom)